Media Library
Upload, organize and reuse images and videos across organic posts and ads from one central library.
Who Sees What?
Hubs upload network-wide brand assets. Each workspace also has its own private library, plus access to the Hub assets shared with it.
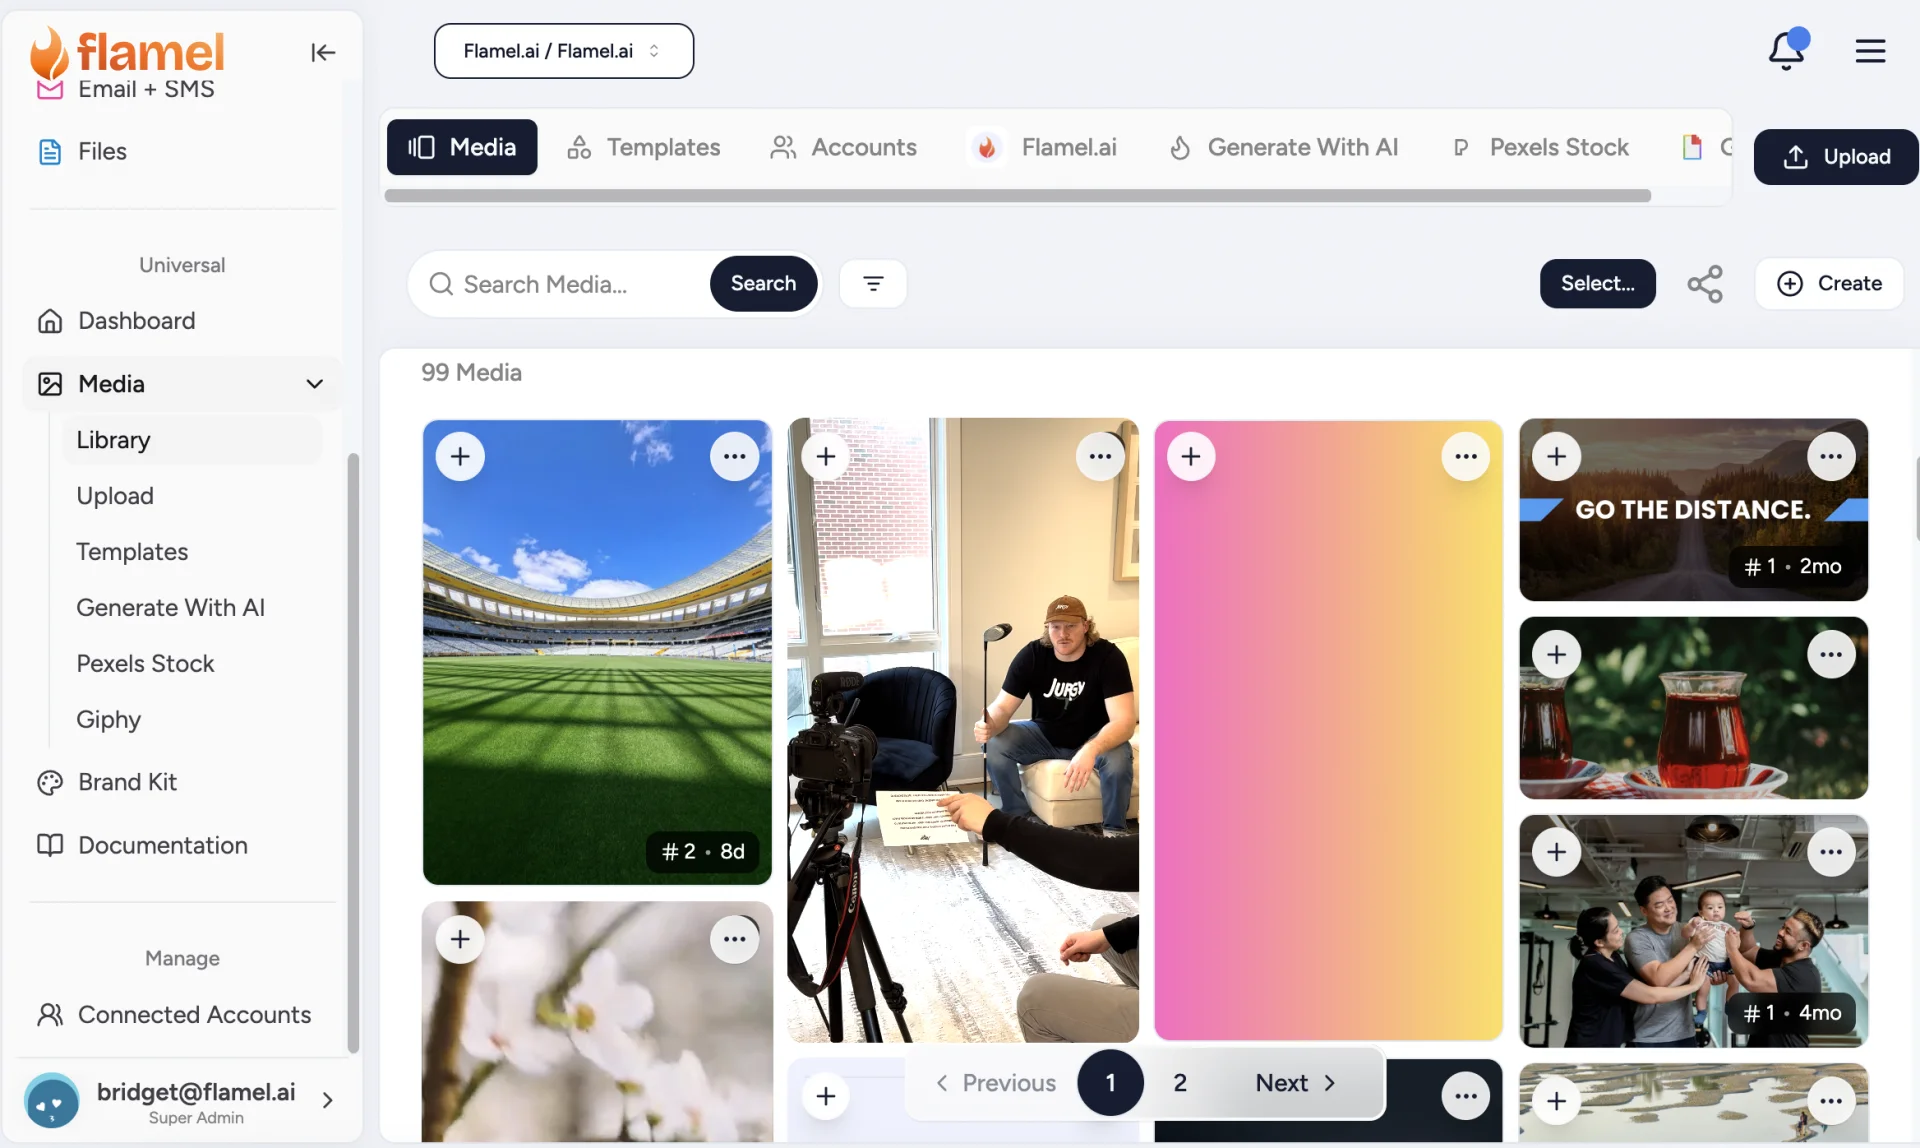
Open Media, then click Library in the sidebar.
Hub vs Workspace Access
What each role can do with media assets:
Assets you upload at the Hub are pushed network-wide as brand-approved content. Every workspace can view them and use them in posts and ads, but no workspace can edit or delete them. This keeps your brand library consistent across all locations.
You have full control over anything you upload to your own workspace library (view, edit, organize, delete). Those files stay private to your workspace, so no other location sees them.
Hub-uploaded assets also appear in your library. You can view and use them in posts and ads, but you cannot edit or delete them.
Share Workspace Media With the Hub
Hub admins can surface each workspace's media back at the Hub for oversight. Toggle Workspace media from the Settings gear in the Library header.
When it is on, a Workspace Media folder appears in the Hub library with a subfolder for each bound workspace. Media is shared by reference, so no files are duplicated. Turn it off to hide the folder again.
Accepted Formats
| Type | Formats | Notes |
|---|---|---|
| Images | JPG, PNG, GIF, WebP | Recommend at least 1080x1080; max 30 MB |
| Videos | MP4, MOV | Max 4 GB; platform limits apply at publish time |
Per-Platform Caps
Each social platform enforces its own media size and length limits when you publish. See File size limits for the full breakdown.
How to Upload Media
Drag and Drop, or Click Upload
Start off by clicking the Upload button. You can then drag and drop batches of media or click the pop-up window to select files from your computer.
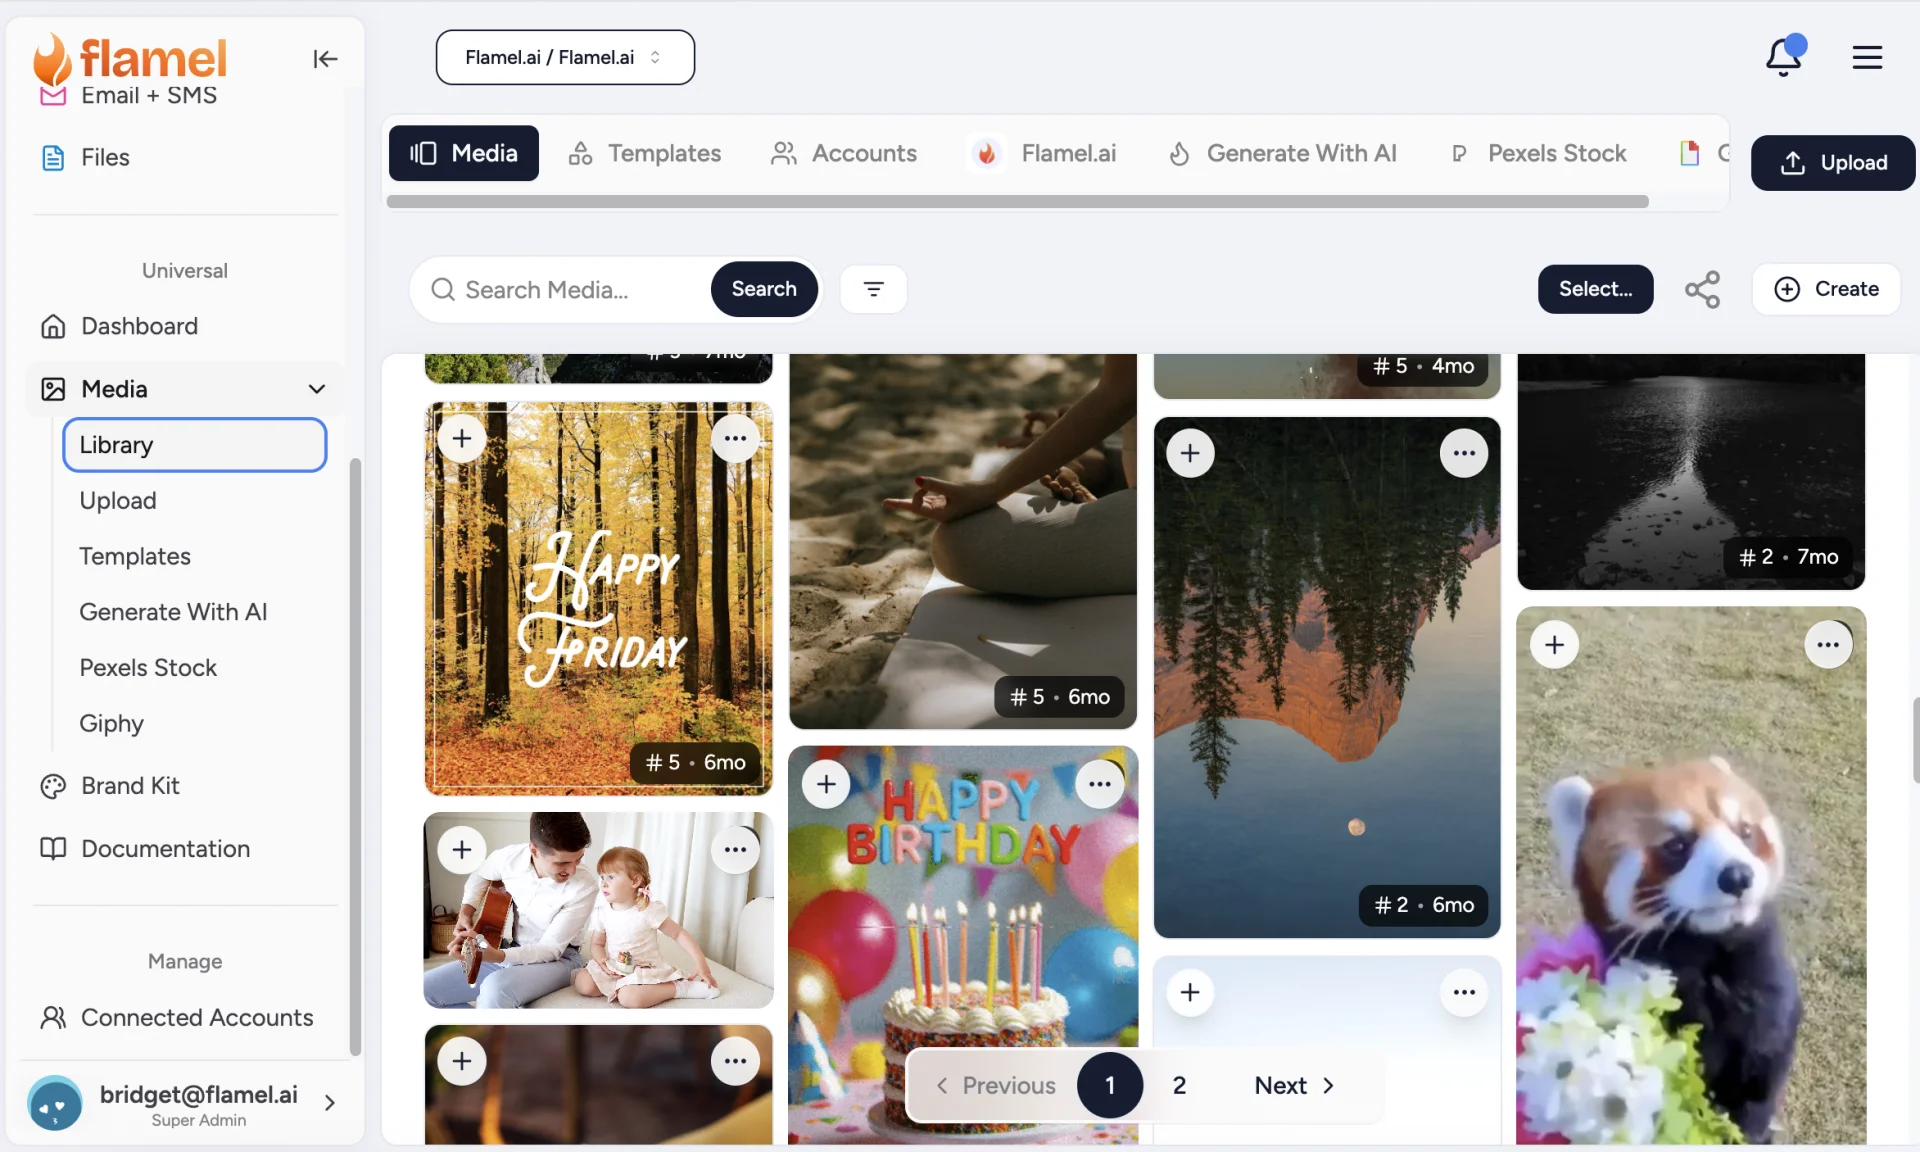
Both methods work. Drag-and-drop is fastest for small batches.
Add Multiple Files At Once
Select multiple files (Ctrl or Cmd-click) and drag them in. Each file shows its own progress bar and they upload in parallel. For very large batches, upload 20 to 30 at a time to avoid slowing down your browser.
How to Find Your Files
Uploaded files appear in Media sorted by upload date, newest first. Search or filter by Media Type or Aspect Ratio.
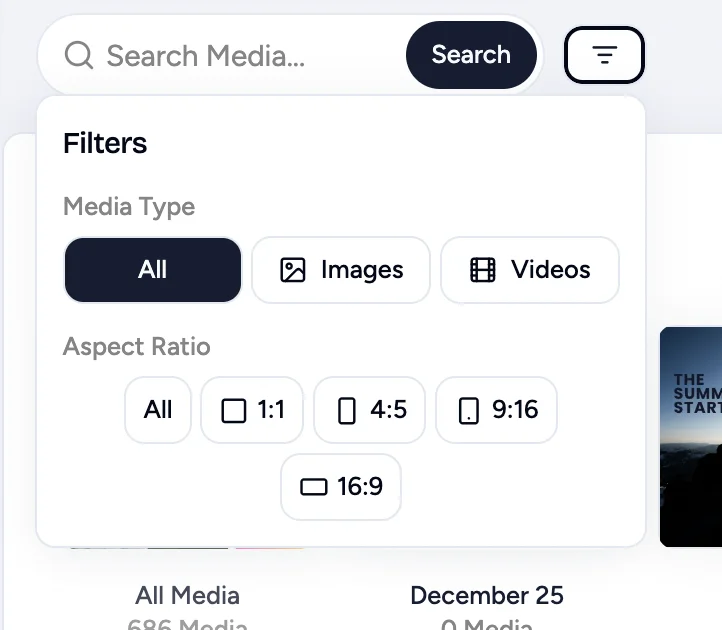
From there you can preview, edit, organize or use them immediately.
Tips for Uploading
- Name files descriptively before uploading. Use
product-launch-hero-image.jpg, notIMG_3847.jpg. Flamel preserves the filename. - Optimize large files first. A well-compressed 2 MB PNG looks identical to a 50 MB TIFF on social, uploads faster and stores cheaper.
- Upload high-resolution originals. You can always resize down, but you cannot add detail back.
Organize With Folders
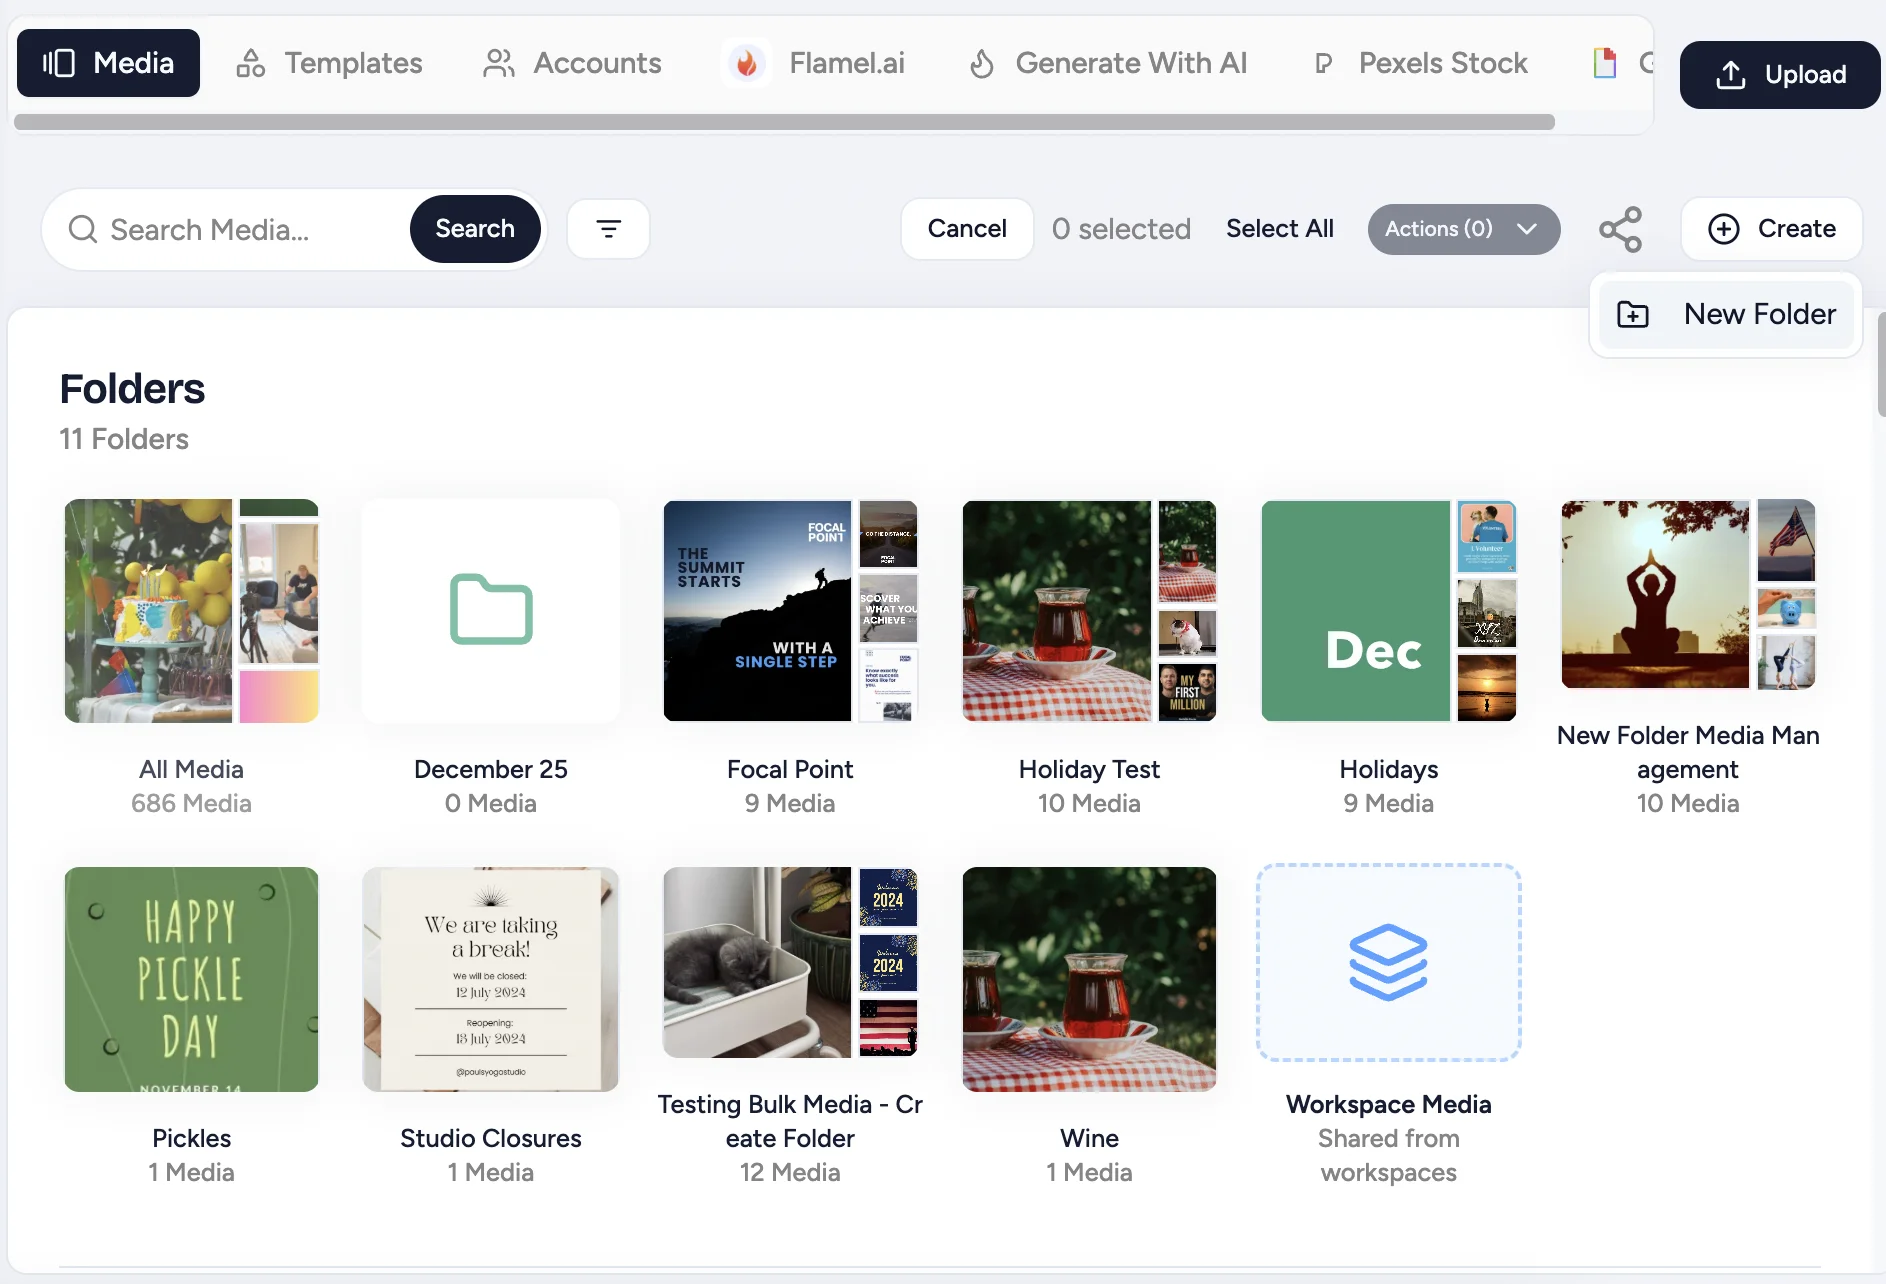
Folders let you scope assets by campaign, content type, or time period. Click Create, then New Folder, and give it a descriptive name. A folder can hold other folders, so you can build the tree your team already thinks in.
Move Files and Folders
Drag a file onto a folder to move it in. Drag a folder onto another folder to nest it. Drag a folder onto a breadcrumb to move it back out to that level.
To move many items at once, click Select..., tick any mix of files and folders, open the Actions menu, then choose Move to Folder....
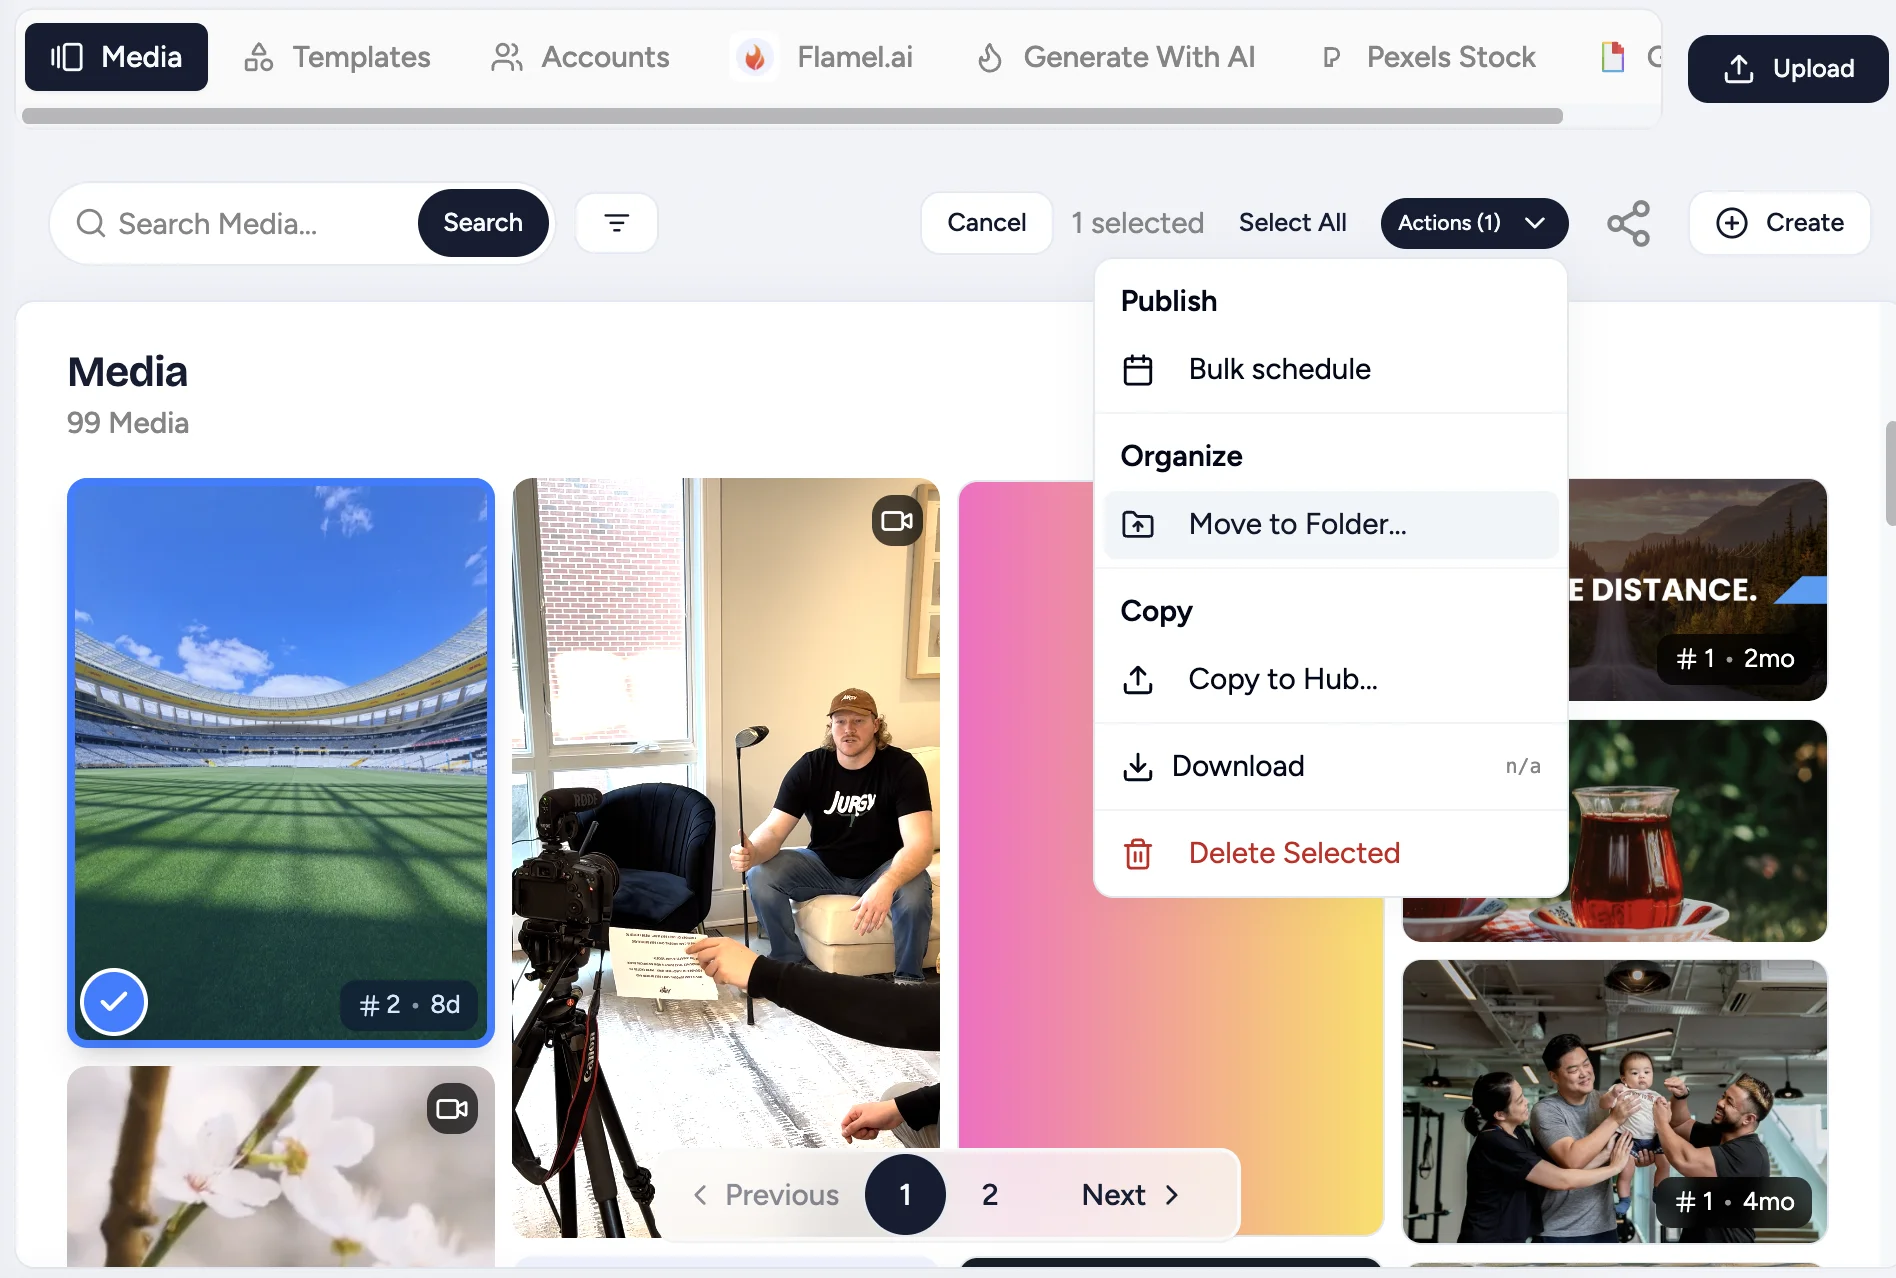
Everything inside a folder travels with it. Subfolders and their files move together, and the structure stays the same.
Navigate Your Folders
Click any folder to open it. The breadcrumbs at the top show your current position and how to navigate back to previous folders.
Name a Folder
Flamel removes the spaces at the start and the end of a folder name when it saves. Keep names to 100 characters or fewer.
Older folders with untidy names still work. You can drag them and move them like any other folder.
Rename a Folder
Click into your selected Folder. Click its three-dot menu and choose Rename Folder.
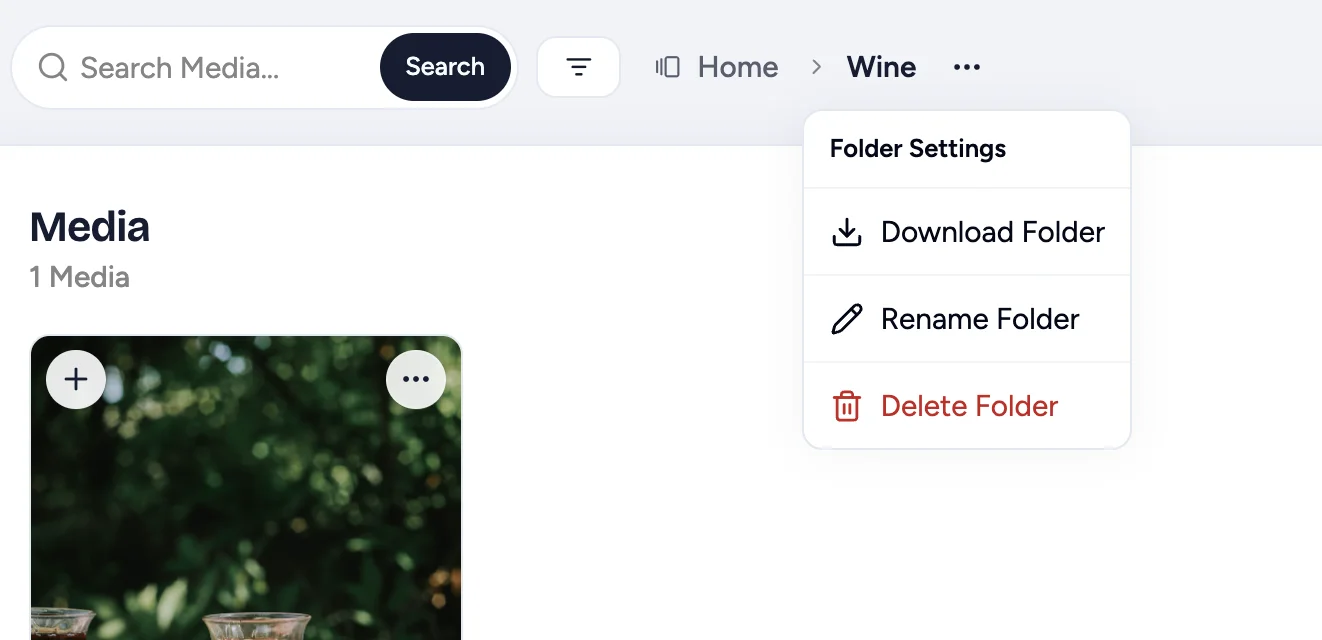
A new name cannot contain a slash. A rename also fails if a folder of that name is already in the same place. A move is different: it merges the two folders.
Delete a Folder
Open the three-dot menu and choose Delete Folder. Flamel deletes the folder, its subfolders, and the files inside them. Move out anything you want to keep first.
Moves Flamel Refuses
A folder cannot go into itself or into one of its own subfolders. Flamel stops the move and keeps the folder where it is.
Hub Media and Workspace Media Stay Separate
Hub media and workspace media are two separate libraries. A move cannot quietly cross that line.
- A folder never crosses. Flamel refuses the move and tells you to copy instead.
- A file stops and asks. Flamel opens a Copy or move? window. Copy keeps a duplicate in both libraries. Move transfers the file and changes which library owns it.
Nothing changes hands until you choose. See Workspace Media for the full copy workflow.
Media a Scheduled Post Still Needs
Flamel blocks a delete while a pending or scheduled post still uses the file. The message names how many posts hold it, so you can unschedule them first. Without the block, those posts fail later at publish time. Drafts never block a delete.
The Same Folders Work Elsewhere
Templates, Concepts, and Blog Ideas use the same folder tools as Media. Nesting, drag-and-drop, bulk Move to Folder..., rename, and delete all behave the same way.
Organization Patterns That Work
Pick the approach that matches how your team actually looks for assets.
- By campaign (
Summer Sale 2024,Holiday 2024): keeps a campaign's assets together and makes it easy to archive when it ends. - By content type (product, lifestyle, team, UGC): find assets by purpose regardless of when you shot them.
- By platform (Instagram Stories, FB posts, LinkedIn): keep format-tailored content separated.
- By time period (monthly or quarterly): answer "what did we post last month" quickly.
Most teams combine these: top-level folders by year or campaign, nested folders by content type.
Archive Media You Want to Keep
Archive media when a campaign ends but you still want a record of what you used. Archived media leaves your library, search, and the media pickers in posts and ads, but Flamel keeps the files. You can restore it to its original folder at any time, or delete it forever once you no longer need it.
When you archive Hub media, it disappears for every workspace too. Workspaces never see the Hub's archive, so out-of-date brand assets stop showing up in their libraries right away.
You can archive media in your own workspace library. Hub media is read-only for workspaces, so only your Hub admin can archive it.
Archive Files or Folders
Click Select..., tick the files and folders you want to archive, open the Actions menu, then choose Archive. To archive a single file, open its three-dot menu and choose Archive. To archive the folder you are in, open the three-dot menu next to its name and choose Archive Folder.
Archiving a folder archives everything inside it, including subfolders, and removes the folder from your library. A confirmation appears with a View archive link.
Open the Archive
Click Archive next to Create at the top of the library. Archived files keep their original folders, so you browse them the same way you browse the library. You cannot create, rename, or move folders while you are in the archive. Click Back to library to return.
Restore Media
Open a file's three-dot menu and choose Restore. To restore a whole folder, open it in the archive, then choose Restore Folder from the three-dot menu next to its name. To restore several files, click Select..., tick them, then choose Restore from the Actions menu. Each file returns to the folder it came from, and that folder reappears in your library.
Delete Forever
When you are sure you no longer need a file, open its three-dot menu in the archive and choose Delete forever. To delete several files, select them and choose Delete Selected from the Actions menu. Deleted files are removed permanently and cannot be recovered.
Posts and Ads Keep Working
Archiving only hides media from browsing. Scheduled posts, live ads, and playbooks that already use an archived file keep using it. You can archive a file that a scheduled post needs, but Flamel blocks Delete forever until you unschedule that post.
Archive, Delete, or Move to a Folder?
| Choose | When | What happens |
|---|---|---|
| Move to Folder | You still use the media regularly | It stays visible, organized in a folder |
| Archive | A campaign ended but you want a record of it | It is hidden everywhere and can be restored |
| Delete forever | You will never need the file again | It is removed permanently |
Archived media never expires on its own. Media synced from your connected accounts, in the Accounts tab, cannot be archived.
Media From Your Connected Accounts
Open the Accounts tab to browse media that Flamel pulled from your connected social and ad accounts.
A sync can fail when the connection to the platform expires. Flamel now reports that failure. Before, the sync finished quietly and told you there was no new media, and every later sync then skipped the same history.
Flamel also flags the connection so you can reconnect it. Reconnect the account on the Social Accounts page, or follow Connection expired. The next sync then brings back the full historical library, not only the newest few items.
Generate Images With AI
Want to generate something completely new? Flamel can do that.
Open the AI Generator
Click Generate with AI in the top menu.
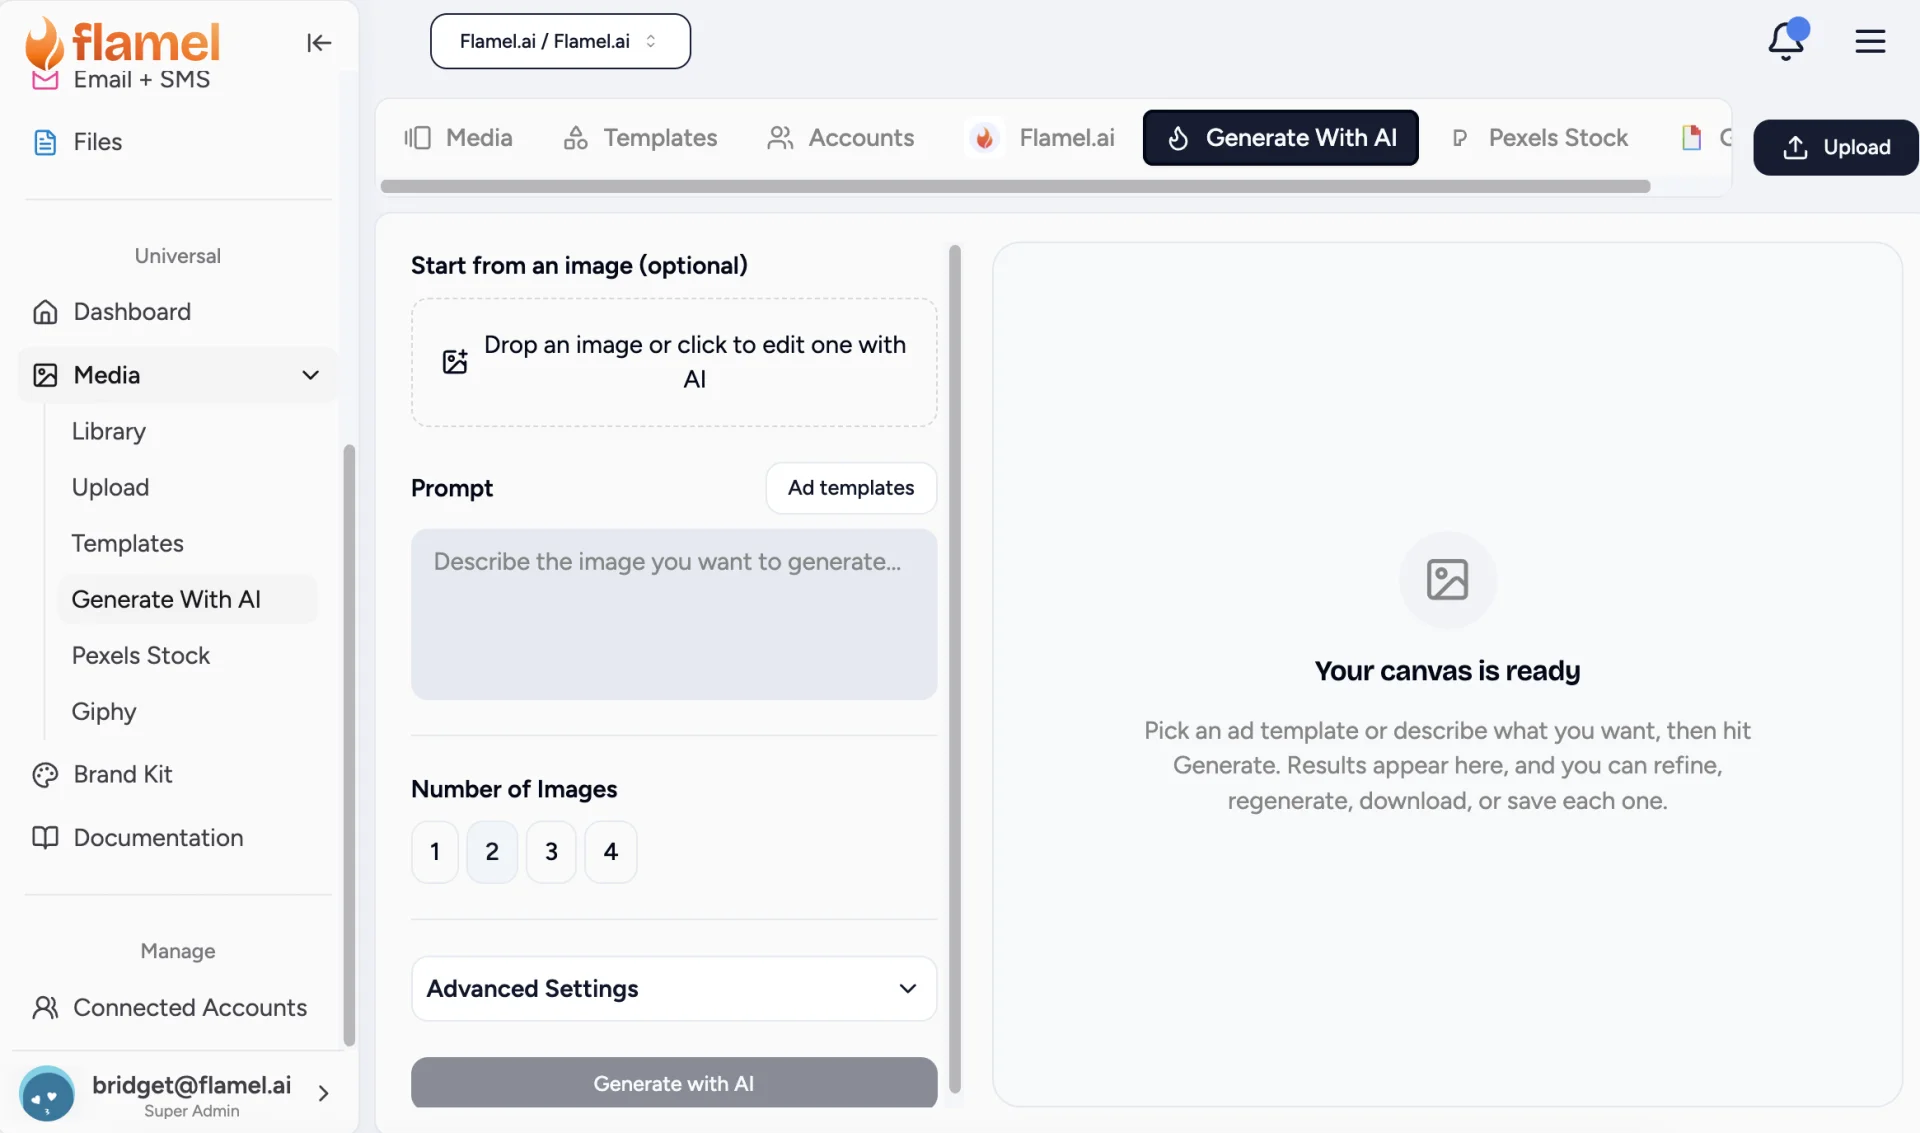
Describe What You Want
Type a description of the image. The more detail you give, the better the result (see prompt structure below). You can also upload an image for AI to edit, based on your prompt.
Wait For the Result
AI returns an image in about 10 to 30 seconds. So take a stretch break.
Save to Your Library
If you like the image, click Upload to add the image to your Media Library.
Prompt Structure
Better prompts produce better results. Layer these four elements when prompting your AI image generator:
| Element | Example |
|---|---|
| Subject | "A white ceramic coffee cup filled with latte, seen from above" |
| Style | "Photo-realistic", "minimal line drawing", "watercolor" |
| Mood / lighting | "Bright morning light streaming through a window", "moody, dark, dramatic" |
| Composition | "Close-up", "wide shot", "centered subject", "rule of thirds" |
Full example: "A coffee cup on a wooden table, morning light streaming through a window, cozy cafe atmosphere, shallow depth of field"
Where AI Shines and Where It Doesn't
AI is great for conceptual or abstract images, backgrounds, textures and generic lifestyle imagery (people in settings, food on tables, products in environments).
It struggles with:
- Text in images. Generate without text, then add text in the design editor.
- Specific brand elements. AI does not know your logo.
- Real-people likeness. You cannot ask for "a photo of Sarah from Marketing".
- Consistency across images. Getting multiple generations to feel like one shoot is hard.
Browse Free Stock Media
Flamel includes Pexels and Giphy stock, free for commercial use.
Click Pexels Stock in the menu. Toggle Images or Videos at the top, then type your search (for example coffee shop or team meeting).
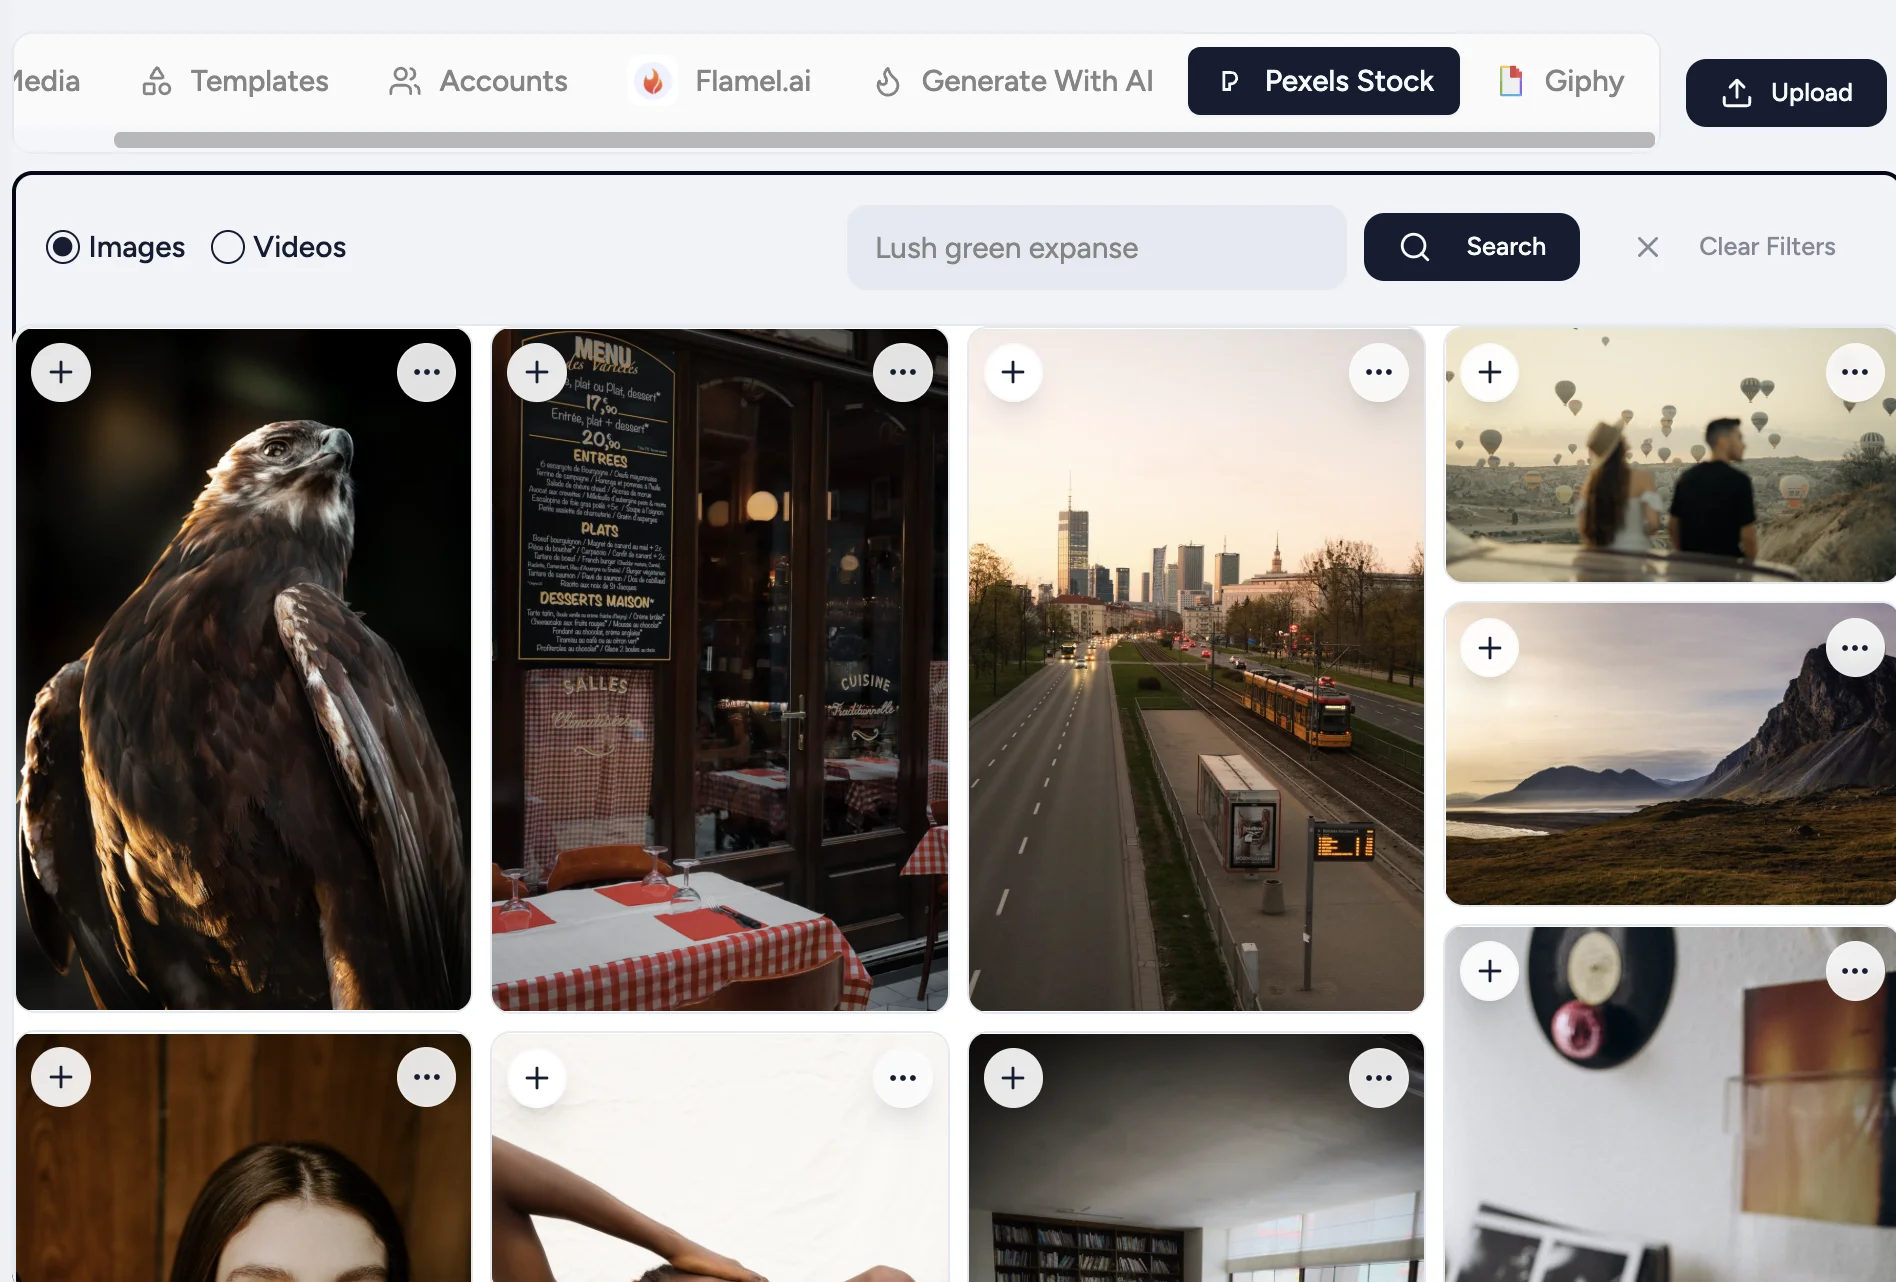
Click Giphy in the menu. Note that GIF use is permission-controlled.
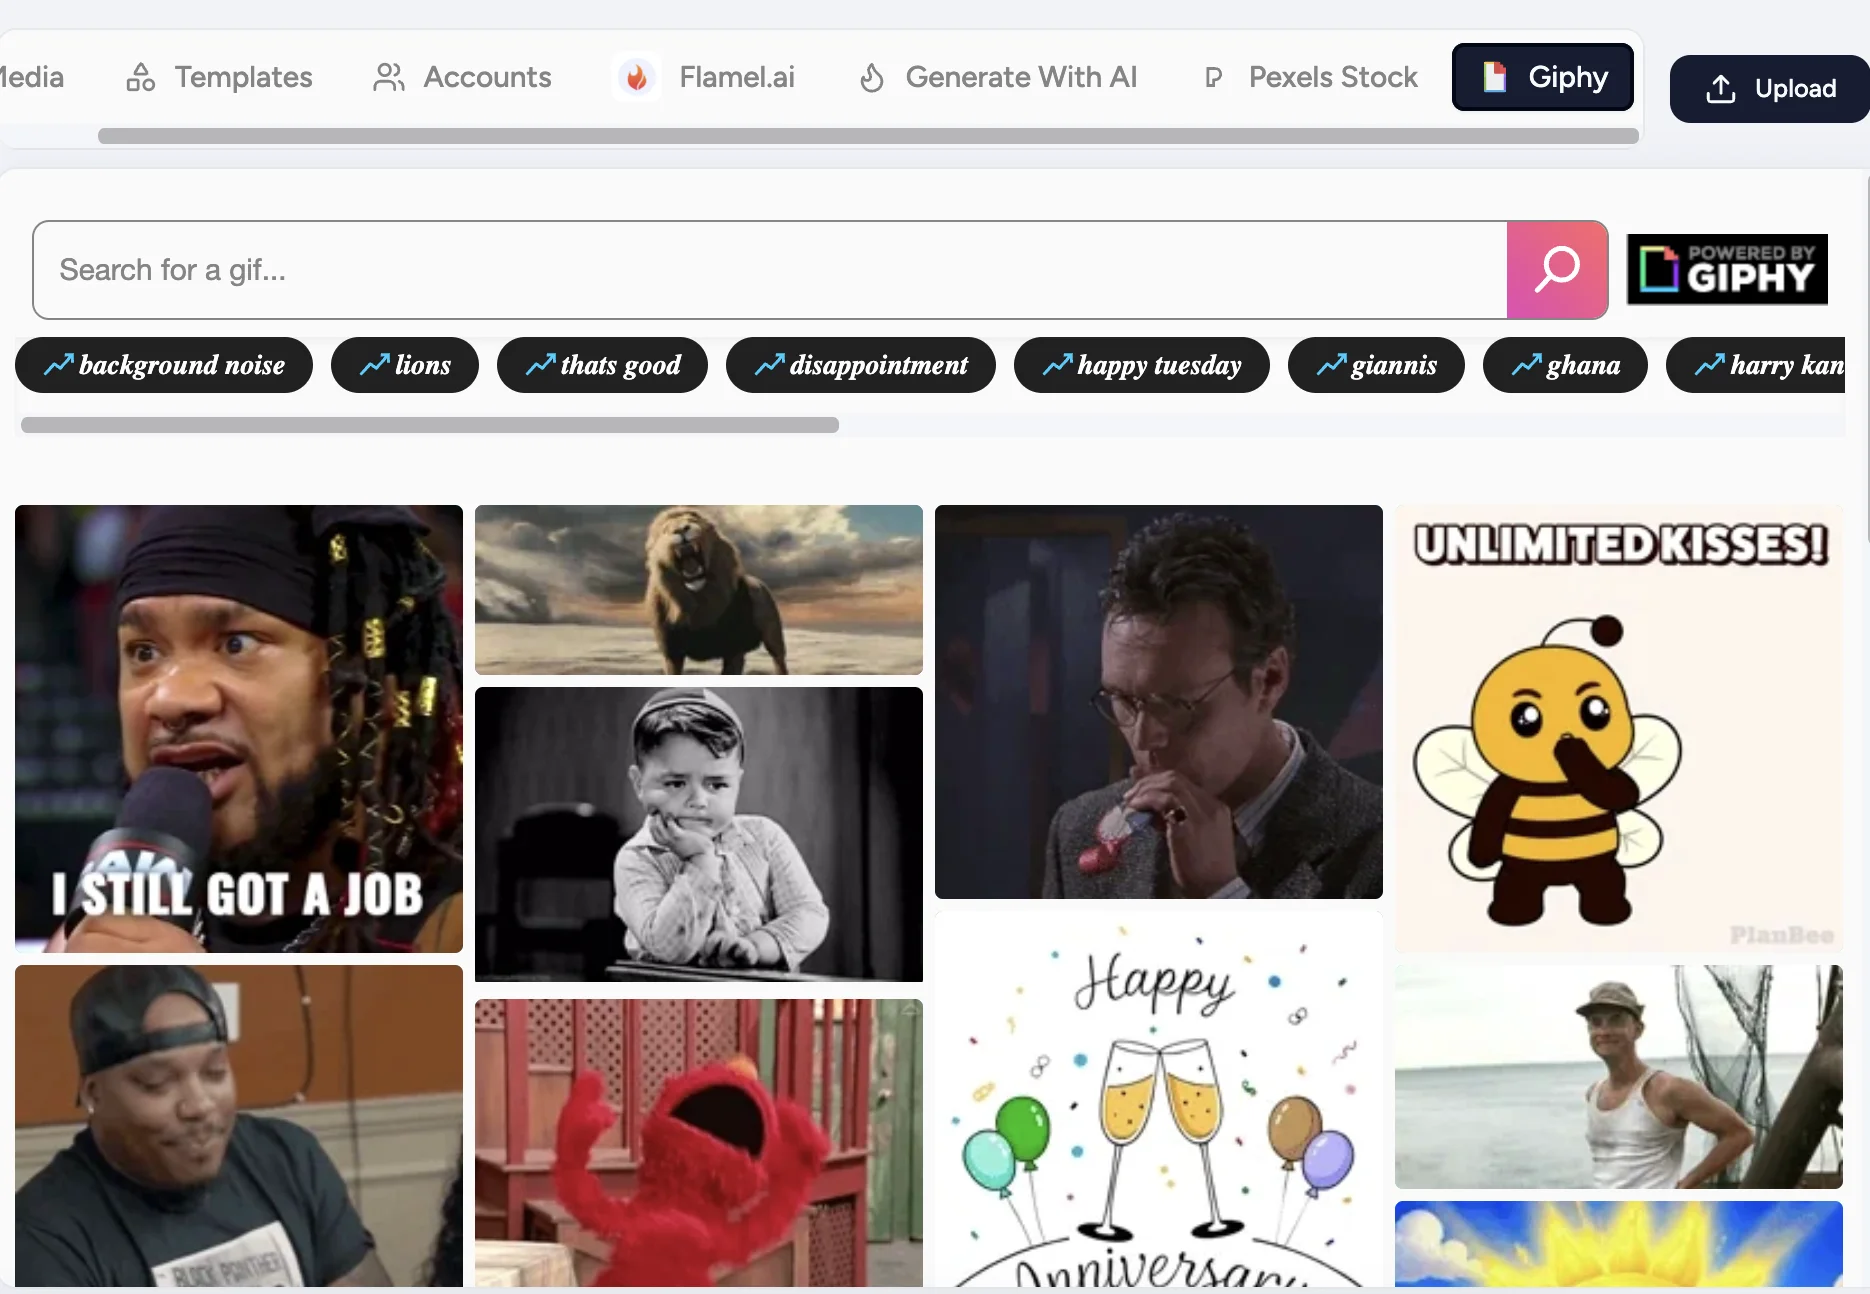
If you do not see the option, your Hub admin can enable it in Hub, then Permissions, then Media Integrations.
Pick GIFs Carefully
Watch the full loop before saving. Some GIFs have unexpected elements partway through. Stick to high-quality animations with smooth motion.
Attribution
Pexels and Giphy do not legally require attribution for commercial social use. Crediting creators is courteous but optional.
Making Stock Feel Like Your Brand
Stock works best as a supporting element, not the star. Edit it to match your brand colors, add text overlays and combine it with branded elements. The goal is content that feels distinctly yours even when you did not shoot every element.
Related Articles
Drop your media into a social post and publish across platforms.
Set the colors, logos and fonts that keep AI and stock on-brand.
See per-platform size and length caps before you publish.
Copy approved media from your Hub to workspace media libraries