Locations
The table of every franchise location in your network, where Hub admins add, group, and update workspaces.
For Hub admins
Each location row corresponds to a workspace. Add new ones as part of onboarding a new franchisee.
Open Manage then Locations to see every location in your network. Use the toggle at the top to switch between List and Map views.
Add a single location
Open the Locations page
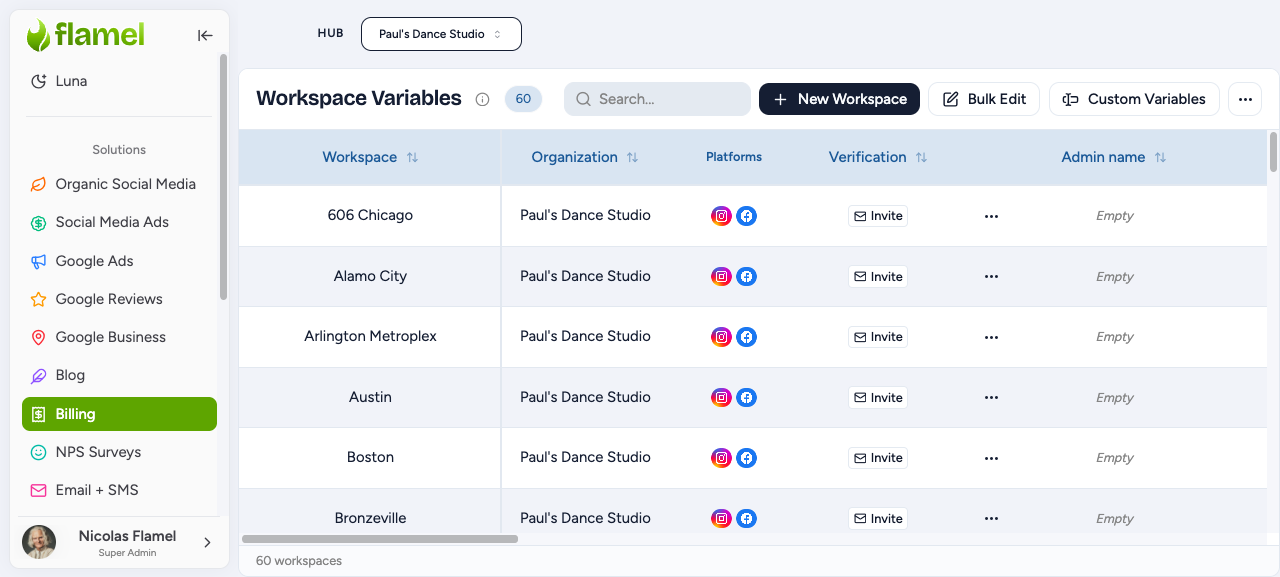
Go to Manage then Locations.
Click Add Location
Select Add Location at the top of the page.
Fill in the location details
Enter the standard fields (name, address, contact info, admin, and time zone) described below, then save. The new row appears in your locations table as a workspace.
Adding many locations at once
For more than a handful of locations, skip the one-by-one flow and use Bulk upload to import them all from a CSV.
Update many locations at once
Export your current locations
From the Locations page, export the table to a spreadsheet.
Edit the spreadsheet
Make your changes in the exported file. Keep the _id column intact so each row maps back to the correct workspace.
Re-import the file
Upload the edited file back in. Flamel matches each row by its _id and applies your updates to the existing locations.
Group locations
Click New Group
On the Locations page, select New Group.
Name the group
Give the group a clear name, for example West Region or Premium Locations.
Pick the locations
Choose which locations belong to the group and save.
A location can belong to multiple groups at once (for example West Region and Premium Locations). Use groups to target broadcasts, scope analytics, or apply settings to subsets of your network.
Standard fields per location
Each location captures the following details:
- Name (display name)
- Address (street, city, state, zip)
- Phone, email, website
- Admin (location manager) name and email
- Time zone