Content Calendar
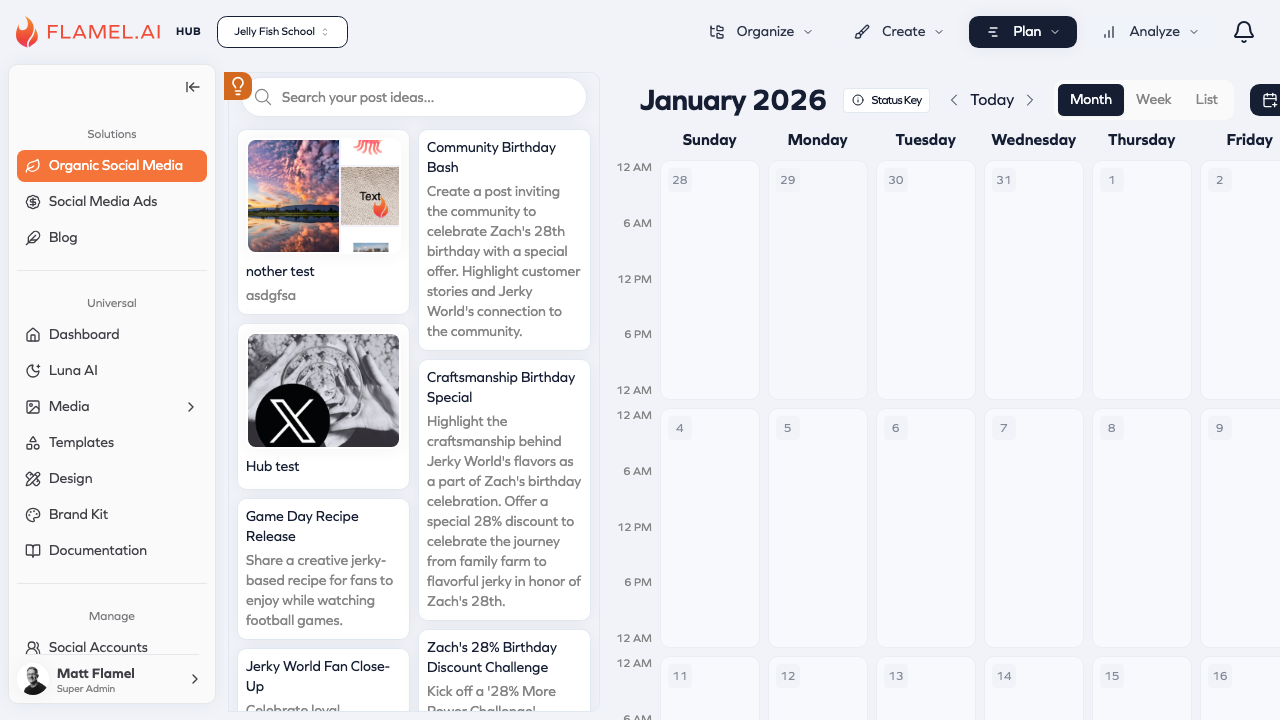
Use the Content Calendar to create, schedule, organize, and review your social media posts and Post Ideas across connected accounts.
You need at least one social account connected before posts can be published. If a post fails to publish, first check that the account connection is still active.
Using the Calendar
Create a post
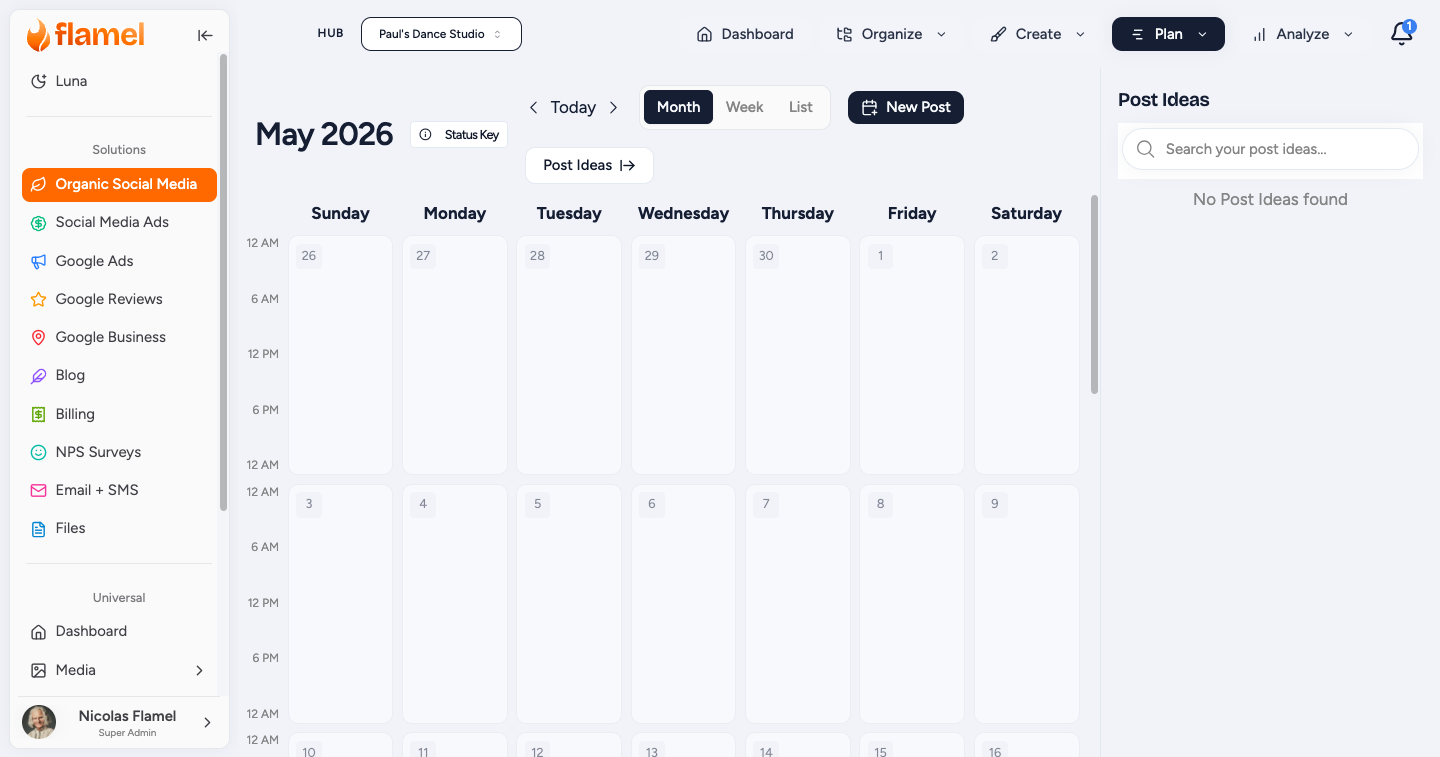
Click an empty day to open the post editor with that date already filled in.
Edit a post
Click a scheduled card to edit the content, accounts, or timing.
Reschedule a post
Move a post to a new day or time slot when the plan changes.
Filter the calendar
Use filters to narrow the calendar by account or platform.
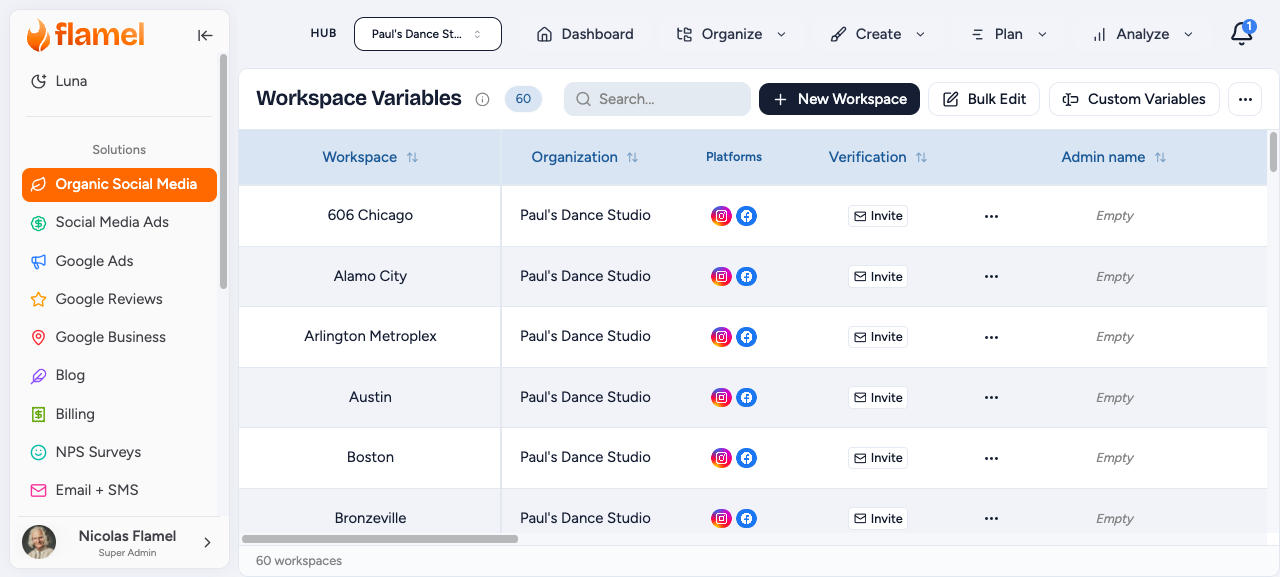
Hub admins can also filter by workspace
If you manage multiple locations, use the workspace filter to focus on one location at a time.
Bulk Upload Posts
Open Bulk Upload
Choose Create, then Bulk Upload.
Download the template
Download the template to ensure your content matches the required format.
Fill in the rows
Add one post per row, including the content, scheduled date and time, and destination accounts.
Upload and review the preview
Review the preview before confirming to catch any formatting or scheduling issues.
Confirm the import
Once confirmed, the posts will appear on the calendar.
Plan Post Ideas on the Calendar
Post Ideas appear on the calendar beside your posts. A Hub administrator can schedule a complete calendar of ideas privately, then publish it to bound workspaces.
Drag an idea card to move it to a new day. A draft stays private to Hub administrators until you publish it, so you can rearrange the whole month before any workspace sees the plan.
Understanding Calendar Views and Statuses
Calendar Views:
- Month: view for planning
- Week: view for timing adjustments
- List: view for detailed review
Post Statuses:
- Blue: scheduled
- Green: published
- Gray: draft
- Red: failed and needs attention
Post Idea Cards:
- Dashed outline: a private draft. Only Hub administrators see it.
- Solid fill: a published idea. Every bound workspace sees it.
Dashed Means Private
If a Post Idea card is still dashed, your workspaces cannot see it. Open the idea and click Publish, or select several ideas and choose Publish Selected. See Post Ideas.
Time Zones
Your profile time zone determines how dates and times are displayed in the calendar. Each workspace's time zone determines when posts are actually published.
If scheduled times appear incorrect, check your profile time zone settings first.
Related Articles
Draft a calendar of ideas privately, then publish it to your workspaces.
Troubleshoot failed posts caused by disconnected or expired social accounts.
Manage draft content and schedule posts for publishing.
Learn how to create and schedule content using the Post Editor built in the calendar.
Update your time zone and account preferences.