Ad Configuration UI walkthrough
Field-by-field reference for the Ad Configuration UI.
For Hub admins and Workspace owners. Looking for the workflow rather than the UI reference? See Hub setup or Workspace guide. For the live click-by-click: Create & configure the Ad Configuration table.
Page anatomy
Navigate to Paid Social Ads → Organize → Ads Configuration.
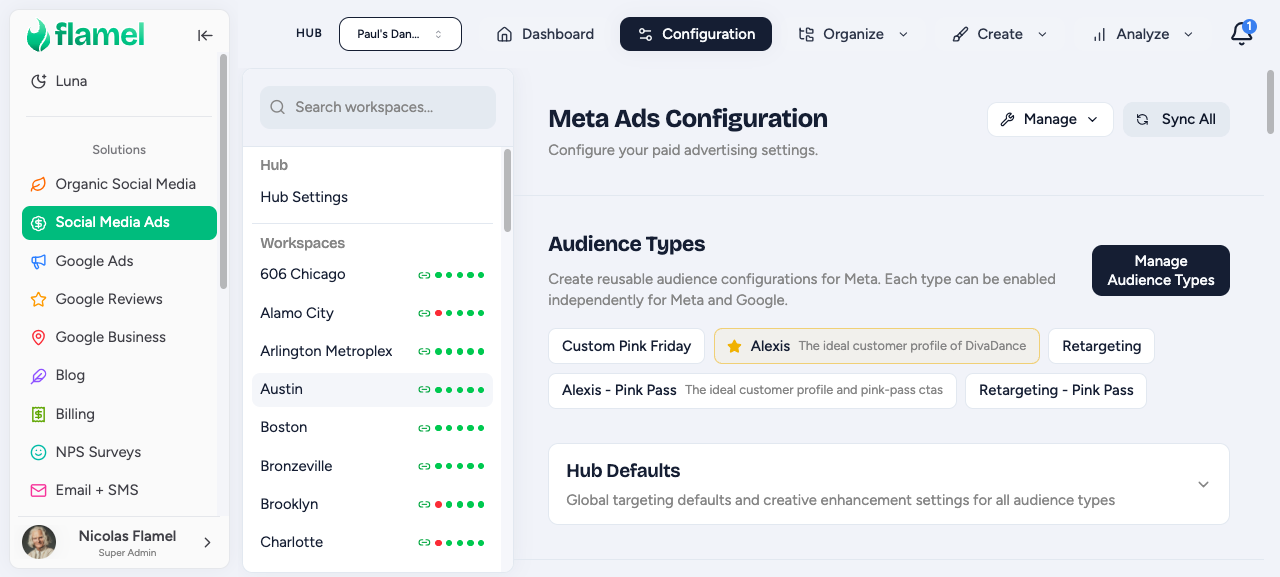
- Tabs across the top:
Default+ one per audience type - Status dot on each tab: green means the location is set, red means it is missing
- Collapsible sections within each tab
How to populate an Ad Configuration
Open Paid Social Ads → Organize → Ads Configuration and select the workspace you want to configure.
Under Custom Locations, enter the workspace's business address and choose a radius suited to the market: 5-10 mi for urban, 15-25 mi for suburban, or 25-50 mi for rural. This is required before any campaign can deploy.
Set Age Min / Max (13-65) and Gender under Demographics. Start wide and narrow per audience type only if the playbook calls for it.
Under Custom Audiences, click Sync Audiences to pull the latest lists from Meta, then include or exclude the relevant CRM uploads, lookalikes, or website-visitor audiences.
Fill in the Call to Action fields: paste the destination URL in Website URL and, if you want a different visible link, set Display URL.
If the playbook uses lead generation, open Lead Capture, click Sync Forms, and pick the correct Meta Instant Form. For Messenger-objective playbooks, select the Messenger Template as well.
Repeat steps 2-6 on each audience-type tab (Database, Mass, etc.) for any fields that differ from the Default. Leave a field empty on an audience-type tab to inherit the Default value.
Confirm every tab shows a green status dot. A red dot means Custom Locations is still missing for that tab -- campaigns on that audience type will not deploy until it is resolved.
Sections reference
Demographics
Age Min / Max: accepts 13-65. Start wide and narrow per audience type only when a playbook specifically targets a tighter range.
Gender: choose All, Men, or Women.
Custom Audiences
Include or exclude Meta custom audiences such as CRM uploads, lookalikes, and website visitors. Click Sync Audiences to pull the latest from Meta.
Languages
Locale targeting. Leave empty to reach all languages spoken in your targeted locations.
Advanced Targeting
Interests, behaviors, income, education, and employers. Use sparingly -- over-targeting shrinks reach and raises CPC.
Custom Locations
Lat/long + radius. Required for campaigns to deploy. Enter the workspace's business address and a market-appropriate radius (5-10 mi urban, 15-25 mi suburban, 25-50 mi rural).
Cities, Zip Codes, Countries
Alternative location-targeting fields. Most workspaces use Custom Locations instead.
Call to Action
Website URL: the destination page for Traffic and Conversion ads.
Display URL: the link text shown inside the ad. It may differ from Website URL.
Lead Capture
Lead Form: pick from synced Meta Instant Forms. Click Sync Forms if the form you need is not listed.
Messenger Template: required for playbooks using the Messenger objective.
Tabs and inheritance
The Default tab is the baseline for every campaign. Each audience-type tab (Database, Mass, etc.) overrides only the fields you explicitly fill in; any empty field falls back to the Default value.
CTA fallback order: Audience-type CTA > Default tab CTA > Hub default.
Status indicators
| Indicator | Meaning | Action |
|---|---|---|
| Green dot on tab | Location set | None |
| Red dot on tab | Location missing | Set Custom Locations or campaigns will fail to deploy |
Save behavior
Most sections autosave on blur. Custom Locations sometimes requires an explicit save click. Refresh the page after large changes to confirm all values persisted.
Permissions
| Action | Hub | Workspace |
|---|---|---|
| Create / delete audience types | Yes | No |
| Edit Hub-locked fields | Yes | No |
| Adjust radius, CTAs, lead forms | Yes | Yes |
| Sync audiences and forms | Yes | Yes |
Workspace edits to non-locked fields persist normally. Hub-locked fields appear read-only on the workspace side.